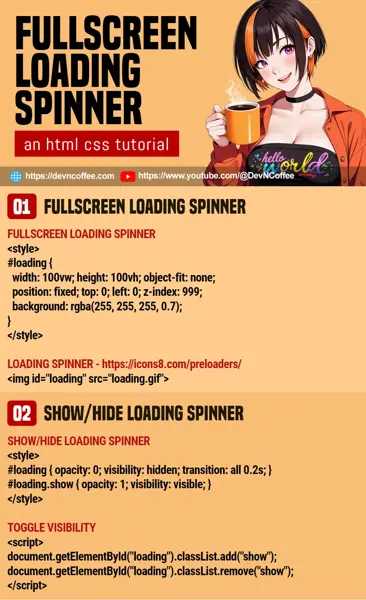
Once upon a time, a student wanted to insert a “now loading” screen. She then searched the Internet and decided that using a third-party library and “a plugin” is the easiest way to do so… Nope. You do not need to introduce bloat with an entire library, just a few lines of code will do. Let Master Coffee show you how, let’s go.
CODE DOWNLOAD
I have released this under the MIT license, feel free to use it in your own project – Personal or commercial. Some form of credits will be nice though. 🙂
VIDEO TUTORIAL
FULLSCREEN LOADING SPINNER DEMO

1) FULLSCREEN LOADING SPINNER
<!-- (PART A) LOADING SPINNER -->
<!-- https://icons8.com/preloaders/ -->
<img id="loading" src="loading.png">/* (PART A) FULLSCREEN LOADING SPINNER */
#loading {
width: 100vw; height: 100vh; object-fit: none;
position: fixed; top: 0; left: 0; z-index: 999;
background: rgba(255, 255, 255, 0.7);
}For the first part, we will create the fullscreen loading spinner itself.
- Start by downloading a “now loading” spinner image. Just search for “loading spinner generator”, there are tons of free generators all over the Internet.
- Next, insert the image into the page
<img id="loading" src="loading.png">. - Lastly a tad bit of CSS:
width: 100vw; height: 100vh;Set the spinner to fill up the entire window with 100% viewport width and height.object-fit: none;We do not want to resize the spinner, so no object fit.position: fixed; top: 0; left: 0;Fix the spinner on the page.z-index: 999;Make sure the spinner is “layered” on the top most.backgroundOptional, set a transparent background color.
2) SHOW/HIDE LOADING SPINNER
<!-- (PART B) SHOW SPINNER -->
<script>
function demo () {
  document.getElementById("loading").classList.add("show");
  setTimeout(
    () => document.getElementById("loading").classList.remove("show"),
    2000
  );
}
</script>
<div onclick="demo()">Show Loading Spinner</div>/* (PART B) SHOW/HIDE LOADING SPINNER */
#loading { opacity: 0; visibility: hidden; transition: all 0.2s; }
#loading.show { opacity: 1; visibility: visible; }With the spinner in place, the next part is to deal with the show/hide mechanism.
- Starting with the CSS –
#loading { opacity: 0; visibility: hidden; }Hide the spinner by default.transition: all 0.2s;This is optional, adds a nice fade effect.#loading.show { opacity: 1; visibility: visible; }Show the spinner when a “show” CSS class is attached.
- The Javascript should be self-explanatory now, we only need to toggle the “show” CSS class on the spinner image –
document.getElementById("loading").classList.add("show")document.getElementById("loading").classList.hide("show")
THE END – CSS OR SVG SPINNER?
That’s all for this short tutorial and sharing. Before we end, you may find some CSS and SVG spinners on the Internet instead. Not a problem, it’s pretty much the same – Just wrap it in a fullscreen container.
<style>
#loading {
  display: flex; align-items: center; justify-content: center;
  width: 100vw; height: 100vh;
  position: fixed; top: 0; left: 0; z-index: 999;
  background: rgba(255, 255, 255, 0.7);
  opacity: 0; visibility: hidden; transition: all 0.2s;
}
#loading.show { opacity: 1; visibility: visible; }
</style>
<div id="loading">CSS OR SVG SPINNER</div>
CHEAT SHEET

