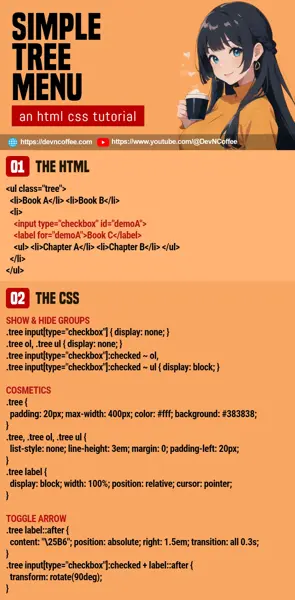
Once upon a time, a student complained “A tree menu is difficult to create, can we do it without Javascript”? Well, it is possible to create a tree menu using only HTML and CSS… But it is also not a great solution in some cases. Let us walk through an example, so you will see why. Let’s go!
CODE DOWNLOAD
I have released this under the MIT license, feel free to use it in your own project – Personal or commercial. Some form of credits will be nice though. 🙂
VIDEO TUTORIAL
TREE MENU DEMO
- Book A
- Book B
-
- Chapter A
- Chapter B
-
- Section A
- Section B
- Section C
PART 1) THE HTML
<ul class="tree">
  <li>Book A</li>
  <li>Book B</li>
  <li>
    <input type="checkbox" id="demoA">
    <label for="demoA">Book C</label>
    <ul>
      <li>Chapter A</li>
      <li>Chapter B</li>
      <li>
        <input type="checkbox" id="demoB">
        <label for="demoB">Chapter C</label>
        <ul>
          <li>Section A</li>
          <li>Section B</li>
          <li>Section C</li>
        </ul>
      </li>
    </ul>
  </li>
</ul>- For the HTML, all we need is a “regular nested list”. It does matter if it is
<ul>or<ol>. - But take note of the “funky mechanism” – Every group item has a checkbox and label.
PART 2) THE CSS
/* (PART A) TREE MENU WRAPPER */
.tree {
  padding: 20px; max-width: 400px;
  color: #fff; background: #383838;
}

/* (PART B) GROUPS */
.tree, .tree ol, .tree ul {
  list-style: none; line-height: 3em;
  margin: 0; padding-left: 20px;
}
.tree label {
  display: block; width: 100%;
  position: relative; cursor: pointer;
}

/* (PART C) SHOW & HIDE GROUPS */
.tree input[type="checkbox"] { display: none; }
.tree ol, .tree ul { display: none; }
.tree input[type="checkbox"]:checked ~ ol, .tree input[type="checkbox"]:checked ~ ul { display: block; }

/* (PART D) TOGGLE ARROW */
.tree label::after {
  content: "\25B6";
  position: absolute; right: 1.5em;
  transition: all 0.3s;
}
.tree input[type="checkbox"]:checked + label::after { transform: rotate(90deg); }
Beginners, keep calm and drink coffee.
- The only functional part of the CSS is (C):
- Hide all the checkboxes, they will still work when we click on the label.
- Hide all the group items by default, and only show them when the corresponding checkbox is checked.
- The rest are pretty much cosmetics.
- (A) Style for the “entire tree menu”.
- (B) Remove the default bullet points, and set the left indentation.
- (D) Add an “opened/closed” toggle arrow to the group items.
That’s all. Feel free to style the tree menu however you wish.
HOW TO OPEN A GROUP BY DEFAULT
- To open a group by default, simply check the checkbox –
<input type="checkbox" checked> - To create a group that is “permanently opened”, simply check and disable it –
<input type="checkbox" checked disabled>
THE END – THIS ONLY WORKS FOR SIMPLE TREE MENUS
That’s all for this quick tutorial and sharing. As you can see, the “magic mechanism” behind the pure HTML CSS tree menu is the pair of checkboxes and labels. While this works, imagine creating more than a dozen checkboxes and labels for a massive tree menu…
So yes, a pure HTML CSS tree menu only works when you have a few items. For massive tree menus, a few lines of Javascript will help you save a lot of time. Check out Master Coffee’s “other tree menu tutorial with Javascript”:
CHEAT SHEET

